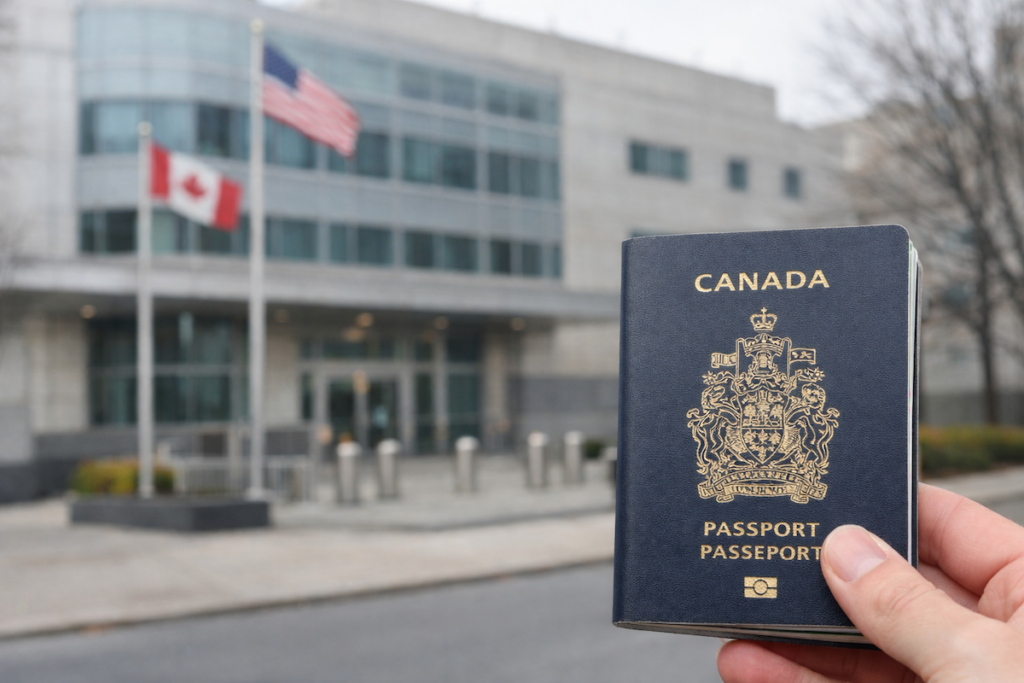
If you’re applying for an Individual Taxpayer Identification Number (ITIN) from the IRS, you’ll need to submit a document to verify your identity and foreign status. For most applicants, this entails mailing a passport, a certified copy of a passport, or a Driver’s License and Birth Certificate. (Also remember that you can apply through a Certifying Acceptance Agent like ITIN Genie and avoid this process entirely).
The IRS has strict requirements for certified copies of passports. Here in Canada, the norm used to be to get a Certified True Copy produced by the Government of Canada at a Service Canada center. However, that approach became invalid a few years back when Service Canada ceased to apply raised/embossed seals to their documents.
Read More: Update on IRS Processing of Certified True Copies of Canadian Passports
In the wake of that update, the next best approach for passport certification comes from the US embassy and consulates in Canada. These consulates provide what are called “notarial services” for foreign passport holders, including but not limited to Canadians. While a notary is typically not considered acceptable for the IRS’ purposes, this is not the case for documents coming from an official US entity like a consulate, which is able to produce a “True Copy” of the passport. In short, passport copies from the US consulates are perfectly acceptable for IRS ITIN applications.
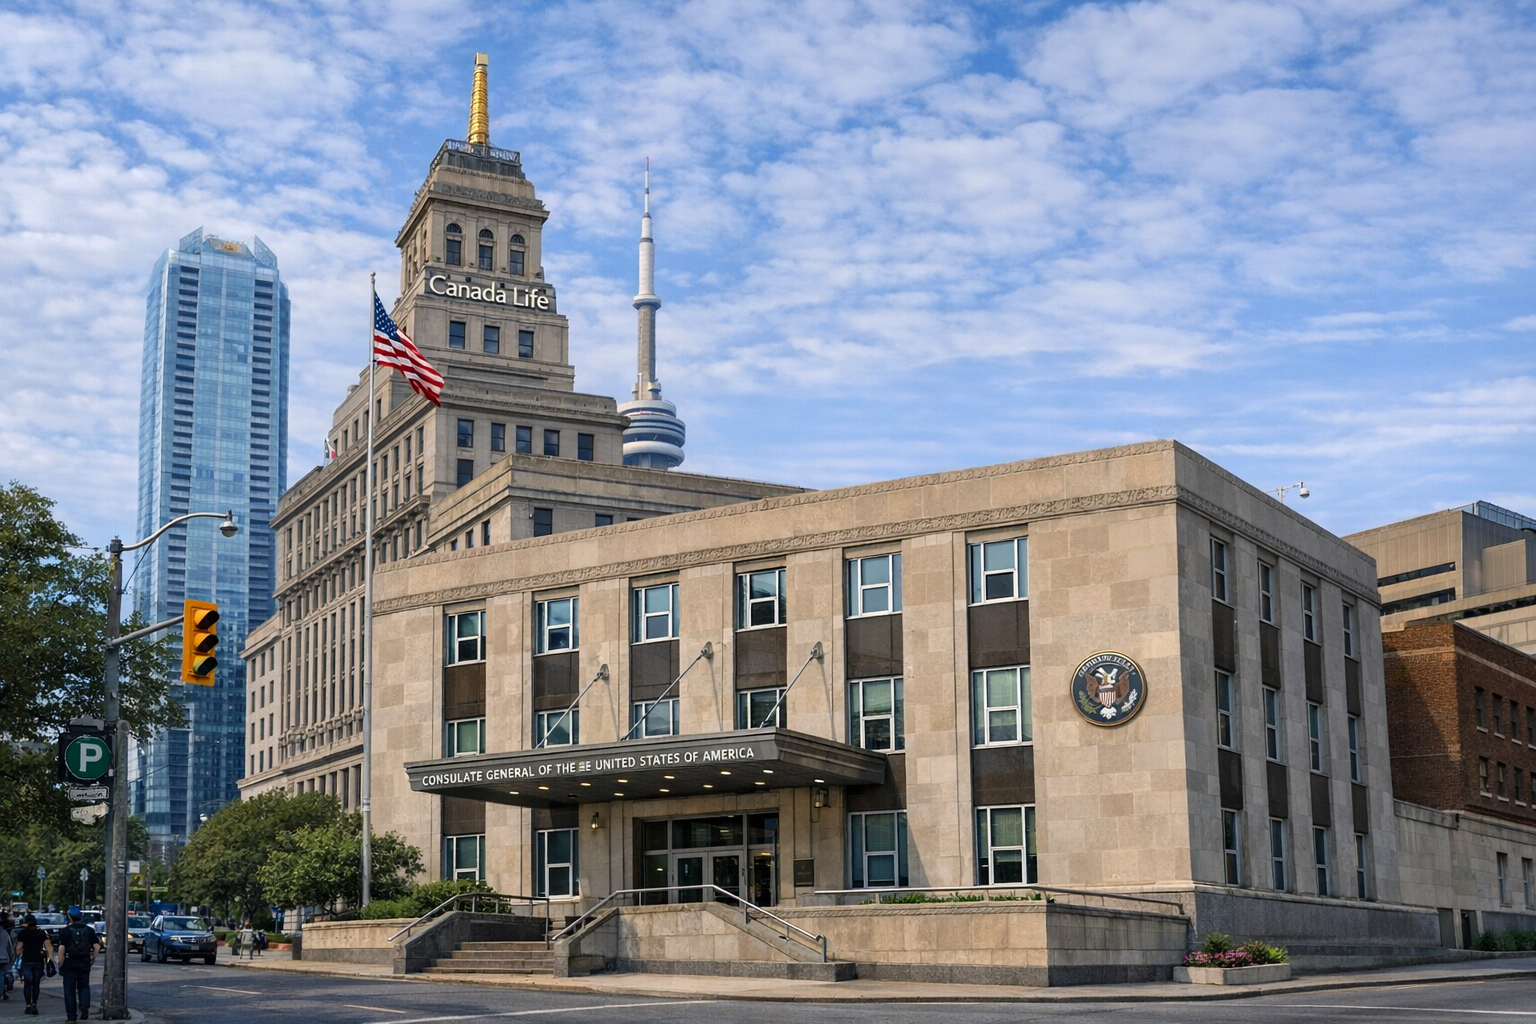
In our previous article we gave an overview of the process for getting a True Copy of a passport, which in Canada involves visiting one of the eight US consulate offices located in major cities. Recently, a customer was able to detail their entire experience of visiting the US consulate in Toronto to get their true copy.
So, in this article, we provide a complete picture of what to expect from your actual US consulate/embassy appointment, based on that reader’s anecdotal experience. While the process itself is straightforward, knowing what to expect can save you time, stress, and multiple trips.
What You Need to Know Upfront
The actual time inside the US Embassy is remarkably quick—about 30 minutes from check-in to walking out with your certified documents. However, the real challenge lies in securing an appointment and preparing properly for your visit.
The key details:
| Cost | $50.00 USD per seal |
| Time inside | Approximately 30 minutes |
| Payment method | US cash or credit card |
| What you receive | A colored photocopy of your passport with an official dry seal, dated and signed by the Notarizing Officer |
The Appointment Booking Challenge
Here’s the reality: getting an appointment requires patience and persistence. The US Embassy doesn’t publish a clear schedule for when appointments are released, making the booking process somewhat unpredictable.
Here are some details about what you may expect. Keep in mind these may be specific to the US consulate in Toronto.
- Typically only 4 dates are available per month
- Appointment slots are limited to afternoon hours (1:00 PM to 3:30 PM)
- Usually 10-12 slots available within that time window
- New appointments appear to be released at the beginning of each month for the following month
Booking strategy: Start checking the embassy website daily at the beginning of the month for the next month’s availability. For example, if you need an appointment in December, begin checking daily starting November 1st. In one customer’s case, December appointments appeared on November 6th with availability on four dates.
Also, don’t be discouraged if you check and see dates that are fully booked. Keep checking throughout the month, as cancellations can open up slots. However, your best chance is to catch appointments when they’re first released.
Once you book, you’ll receive an email confirmation with an appointment password (needed for cancellations or edits) and instructions to print the confirmation.
What to Bring
You’ll need to carry these items with you to the appointment:
- Your passport (the original you’re getting certified)
- Payment method: $50 USD cash, or bring your credit card
- Printed appointment confirmation
- Printed check-in instructions (you’ll receive these via email about a week before)
What to Leave Behind
The US Embassy has strict security policies. You cannot bring electronic devices or bags into the building. This includes:
- Cell phones
- Smartwatches or fitness trackers
- Tablets or laptops
- Bags, purses, or backpacks
- Food or beverages
- MP3 players or other electronic devices
If you’re driving, simply leave these items locked in your car. Navigate to the embassy using GPS, then leave your phone in the vehicle before walking to the building entrance. If you’re using public transit, some nearby convenience stores may offer locker services for storing your belongings, which is the case in Toronto.
Other Appointment Prep
About a week before your appointment, you’ll receive an automatic reminder email with detailed check-in instructions, including where to enter the building, the $50 cost, and acceptable payment methods. Print this email along with your original confirmation.
If you’re driving, research parking options ahead of time and download any required parking payment apps before you leave home. Budget for at least 1 hour of parking, though you likely won’t need that much time. Plan to arrive 10-15 minutes early to account for parking, walking to the building, and any unexpected delays.
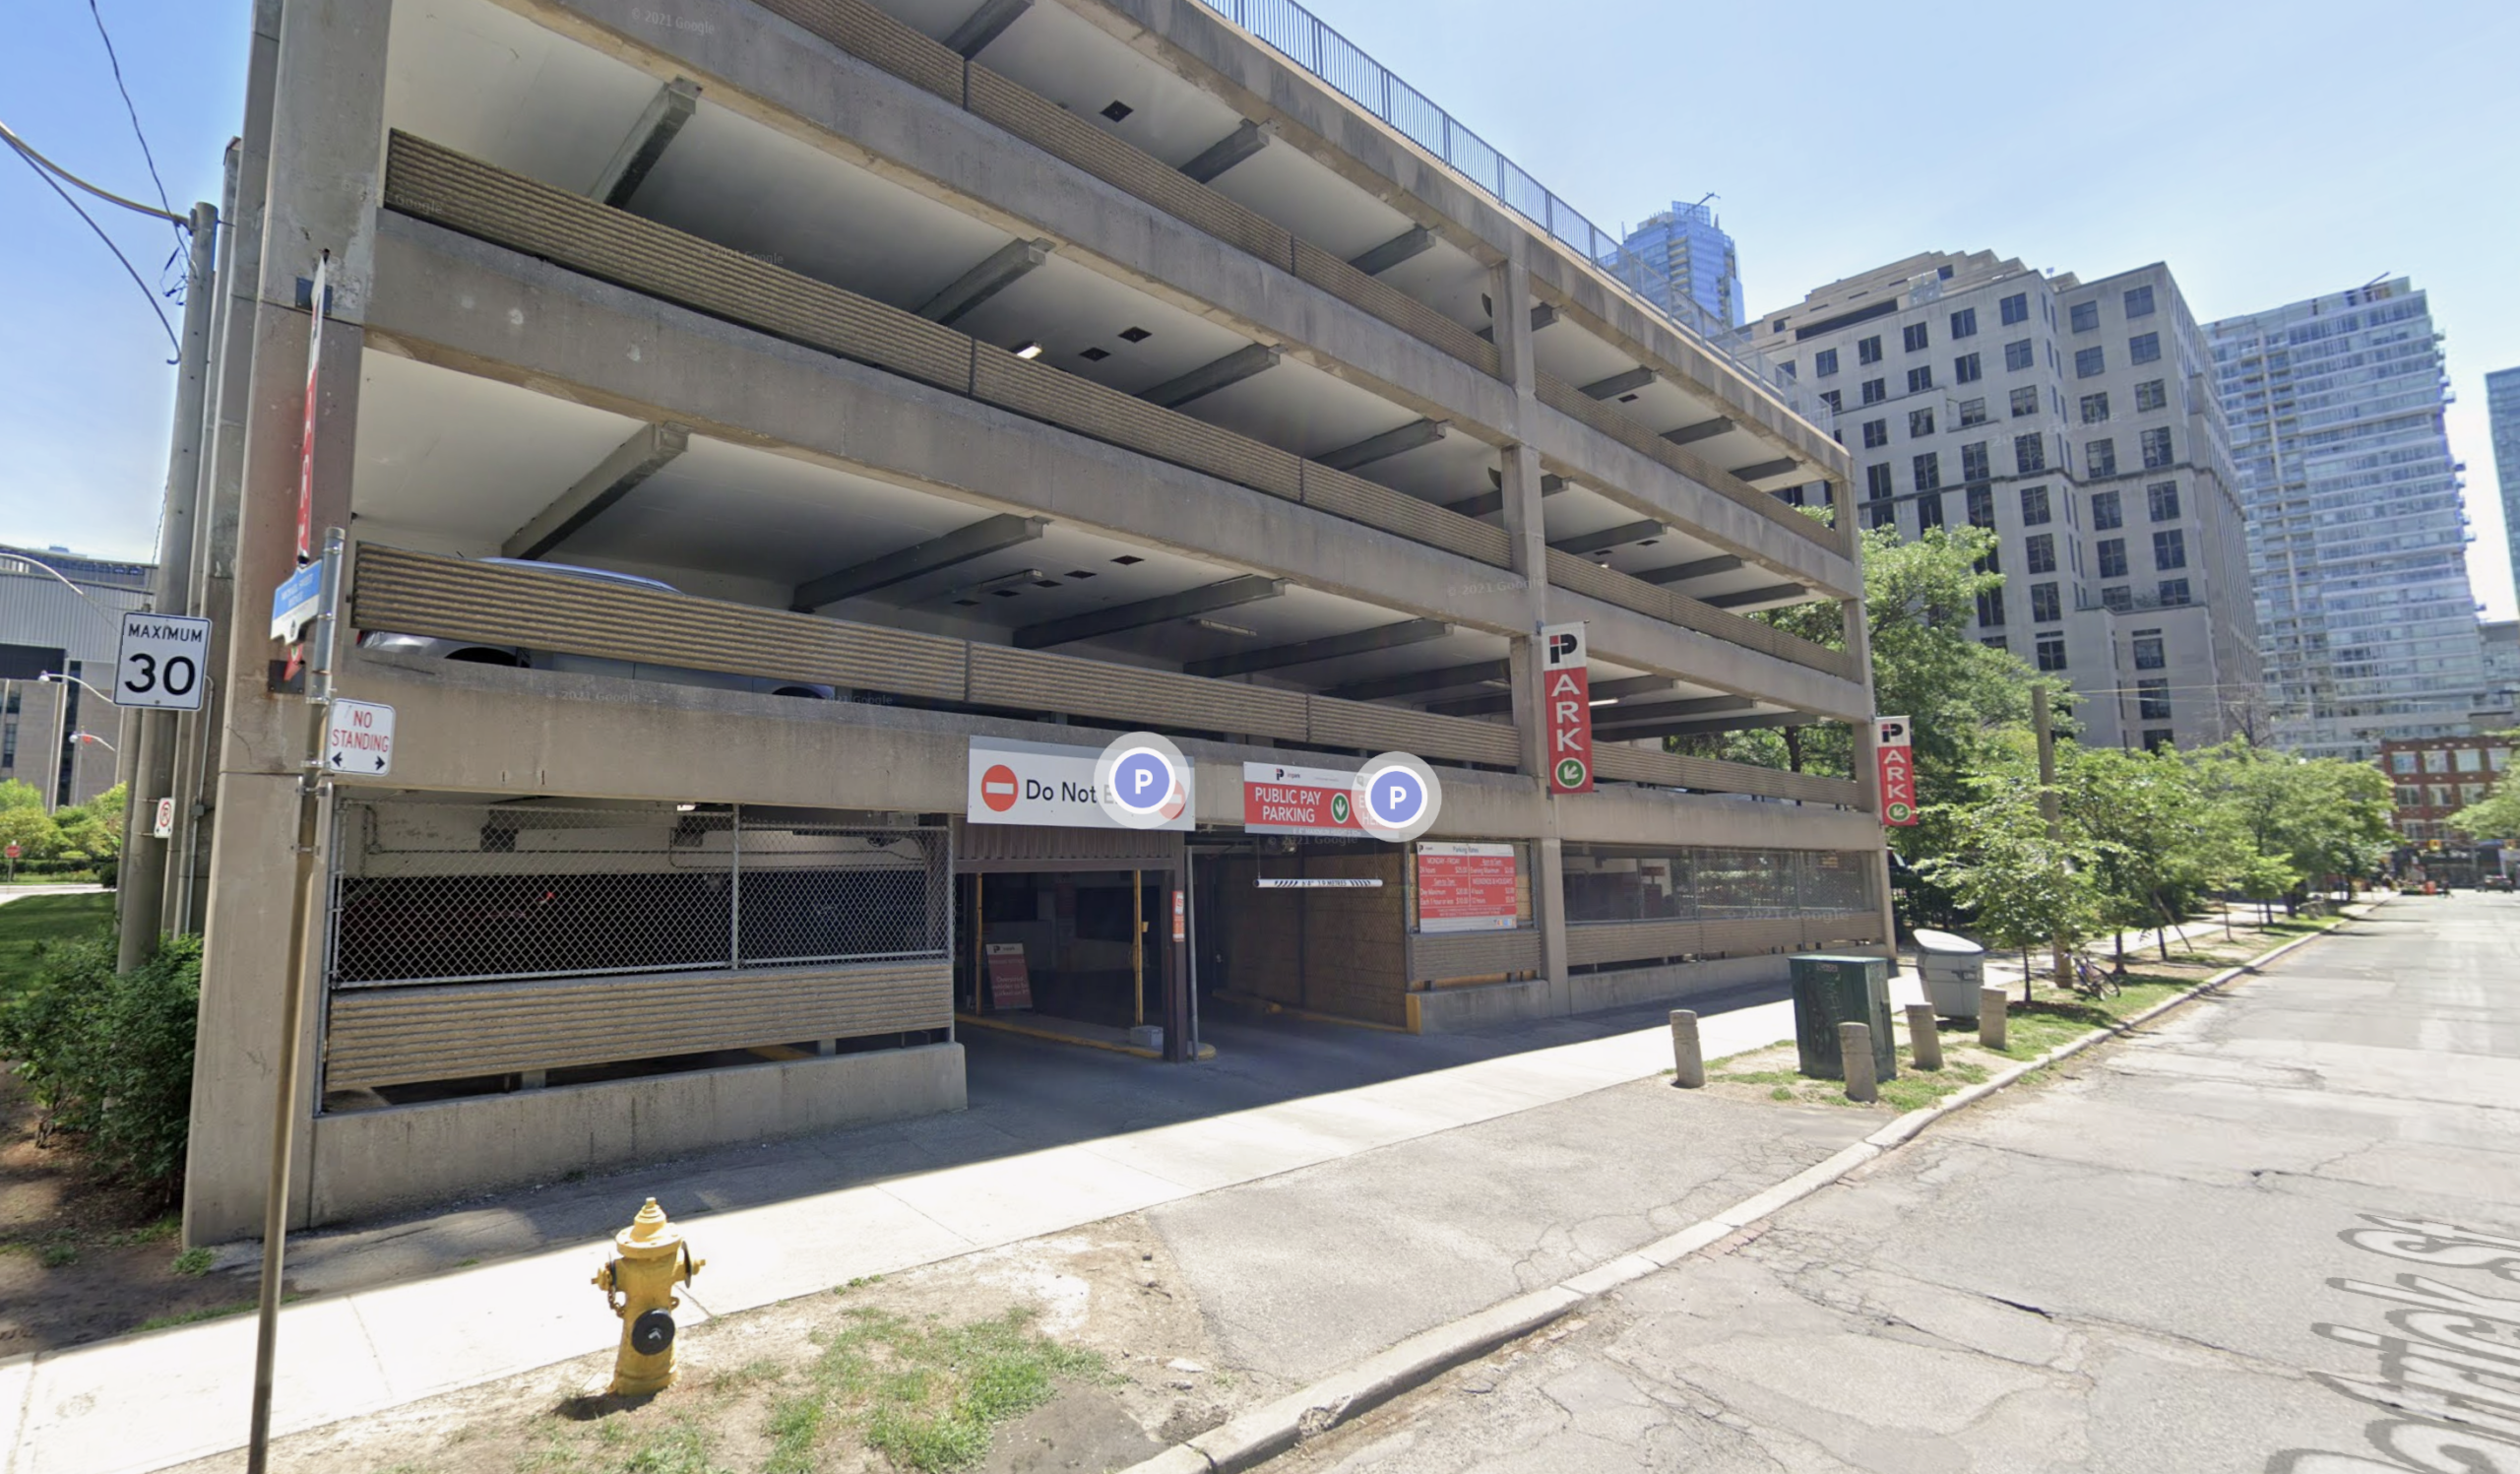
For the Toronto Consulate specifically, one convenient parking option is the garage at 206 Simcoe Street (entrance on St. Patrick Street).
The Day of Your Appointment
When you arrive at the US consulate/embassy, the main entrance door will likely be locked. This is normal. A security guard will come to the door, check your name against their list, and verify your passport as identification. There’s typically no lineup.
Once inside the building, you’ll enter a small foyer with airport-style security screening. Place your papers and jacket through the scanning machine and walk through the metal detector.
After clearing security, you’ll need to go to the services counter. In the case of the US Consulate in Toronto on 360 University Avenue, you’ll pass through a security door to reach the elevators, then take the elevator up, exit, and walk to the counter.
At the counter, tell the agent you’re there to get a notarized copy of your passport for ITIN purposes. They’ll take your passport, confirm the $50 USD cost per seal, and direct you to the waiting area. The waiting area is typically not busy—expect to see just a few other people.
After about 15 minutes, they’ll call your name to return to the cashier counter. Pay your $50, and you’ll receive:
- Your original passport (returned to you)
- A colored photocopy of your passport with the official dry seal on the back
- A receipt for your payment
The dry seal will be dated and signed by the Notarizing Officer, making it an official, certified copy acceptable to the IRS.
After Your Visit
Once you have your certified passport copy, you can include it with your IRS Form W-7 (Application for IRS Individual Taxpayer Identification Number). The certified copy satisfies the IRS requirement for proof of identity and foreign status.
Keep in mind that if you haven’t yet paid any associated taxes (such as taxes owed for the previous year), check the IRS instructions on Form W-7 regarding whether to pay immediately or wait until you receive your ITIN. Some applicants wait to receive their ITIN before submitting payment to avoid potential processing complications.
Common Questions
How far in advance are appointments released?
Based on applicant experiences, appointments appear to be released approximately one month in advance, typically during the first week of the month. However, this isn’t officially published, so checking regularly is essential.
What if I miss my appointment?
You’ll need to rebook using the appointment password provided in your confirmation email. Given the limited availability, try to avoid missing your scheduled time.
Can someone else pick up my certified copy?
No, you must appear in person with your original passport.
How long is the certified copy valid?
Check current IRS guidelines. Its best if these documents are recent when submitted with your ITIN application, but they are generally valid as long as the passport is non-expired.
What if all appointments are booked?
Keep checking back throughout the month for cancellations, and start checking early the following month for new releases.
Alternative to Passport True Copies: Use a Certifying Acceptance Agent
If the appointment booking challenges and embassy visit requirements seem overwhelming, there’s a more streamlined alternative. Working with an IRS-authorized Certifying Acceptance Agent allows you to skip the certified copy process entirely—and you never have to part with your passport or travel documents.
Certifying Acceptance Agents are authorized by the IRS to verify your identity documents and submit your ITIN application on your behalf. Instead of obtaining certified copies and mailing your original passport to the IRS, you simply provide scanned copies and verification materials to the agent. They handle the document authentication and Form W-7 submission process.
This approach offers several advantages:
- No need to secure hard-to-get embassy appointments
- Keep your passport in your possession throughout the process
- Avoid mailing original documents to the IRS
- Professional guidance through the ITIN application
- Faster, more convenient timeline
Many Certifying Acceptance Agents offer comprehensive ITIN services, including application assistance, document review, and direct submission to the IRS. Some also provide additional services like ITIN renewals, maintenance, and even EIN (Employer Identification Number) applications for those who need them.

If you’re looking for the path of least resistance for your ITIN application, working with a Certifying Acceptance Agent may be worth exploring before committing to the embassy appointment process.
Learn more: ITIN Genie’s Services
Final Thoughts
While getting an appointment at the US Embassy requires patience and planning, the actual experience is efficient and professional. The staff are experienced with ITIN-related passport certifications, and the process moves quickly once you’re inside.
The key to success is persistence in securing your appointment and thorough preparation for the visit itself. With the right expectations and preparation, you’ll have your certified passport copy in hand within 30 minutes of entering the building—a small investment of time for an important step in your ITIN application process.
That said, if the appointment availability and requirements feel like too much hassle, remember that Certifying Acceptance Agents like ITIN Genie offer a legitimate alternative that can simplify your entire ITIN journey.